


Smart ways to to control vertical and horizontal spacing in a table
How to manage vertical and horizontal spacing in a table
Use cell margins to set the distance between cell borders and text in a table.
Let's say we want a table to look something like the one in Figure 1. That is, there is extra vertical space to mark out the items in the header row.
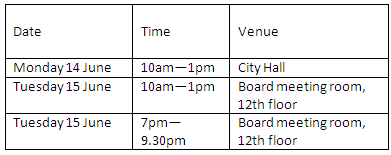
Figure 1: This is the look we're after: in the header row, extra vertical space between the edges of the table cells and the text
I am always really disappointed when I see a user pressing Enter over and over again to create extra vertical space in a table cell (Figure 2).
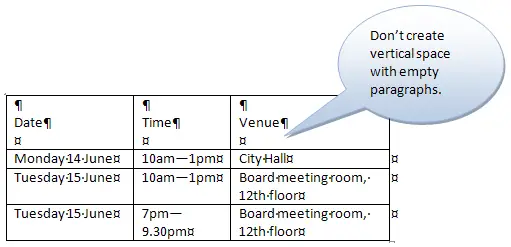
Figure 2: I've displayed non-printing characters here, to see the empty paragraphs. Don't use empty paragraphs to create extra vertical space, as this user has done
When we press Enter to create vertical space, we are adding empty paragraphs to the document. It's not necessary. It's annoying to do; it's hard to keep consistent; and it adds to the size, weight and complexity of your document.
The better way is to control cell margins.
The cell margin is the distance between the edge of the cell (whether you are displaying borders or not) and the text.
By default, the cell margins are 0 for the top and bottom margins, and 0.19cm for the left and right margins.
Controlling cell margins for the table as a whole
We control cell margins from the Table Properties dialog box (Figure 3). To see the Table Properties dialog:
- In Word 2003 and earlier versions: Click within your table. Table > Properties.
- In Word 2007 and Word 2010: Click within your table. On the Table Tools Layout contextual tab, in the Cell Size group, click the little arrow thingy (whose name I can never remember) to the right of "Cell Size". (Note: the old Alt-A, R shortcut still works to open the Table Properties dialog box.)
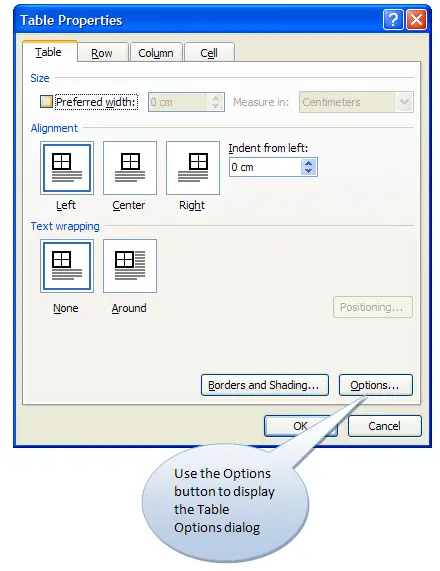
Figure 3: The Table Properties dialog box. Use the Options button to display the Table Options dialog box.
Within the Table Properties dialog, on the Table tab, click the Options button (Figure 3) to see the Table Options dialog (Figure 4). There you can set the cell margins to apply to all cells in the table.
Figure 4: Set the cell margins for the whole table in the Table Options dialog box
Controlling cell margins for individual cells
Open the Table Properties dialog box, as you did to set the cell margins for the table as a whole.
Click the Cell tab (Figure 5).
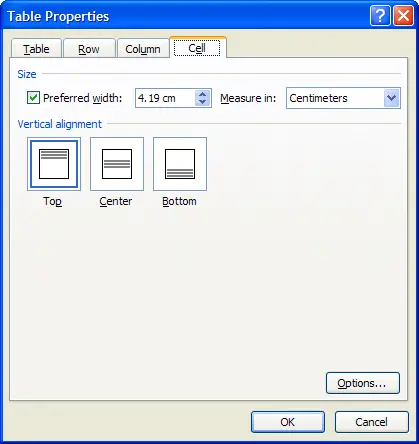
Figure 5: From the Cell tab, click the Options button to set cell margins for the selected cell(s).
On the Cell tab (Figure 5), click the Options button to see the Cell Options dialog (Figure 6).
In the Cell Options dialog, you can tick the box to set the cell margins for the selected cell(s) to be the same as the table as a whole. Or, un-tick the box, and set the cell margins for the selected cell(s). Cell margins for an individual cell will over-ride the cell margin setting for the table as a whole.
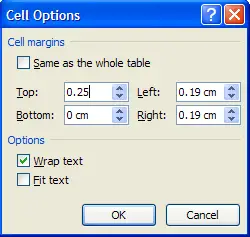
Figure 6: Set the cell margins for the individual cells in the Options dialog box from the Cell tab. Or, tick the box to set the cell margins for this cell to be the same as the table as a whole
Using cell margins
Figure 7 shows the same table we saw in Figure 1, with the empty paragraphs removed.
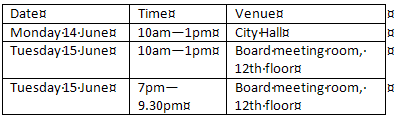
Figure 7: The table from Figure 1, cleaned up
Figure 8 shows one way to use cell margins to create a poster-style look. I set the top, right, bottom and left cell margins for the table at 1cm, and added a thick red border. I didn't need to mess around adding extraneous spaces and empty paragraphs adjusting here and there to create the extra space. Just two settings: cell margins and borders to get from the table in Figure 7 to the table in Figure 8.
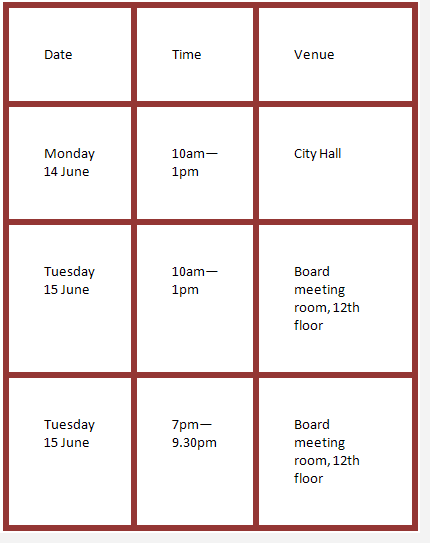
Figure 8: To achieve this look, set the cell margins to 1cm for the whole table, and add a thick red border
Figure 9 shows a different way to use cell margins. Here, there are cell margins of 0.2cm top and bottom, and 0.5cm left and right. And, I added blue shading and thick white borders. Just three settings: cell margins, shading and borders to get from the table in Figure 7 to the table in Figure 9.
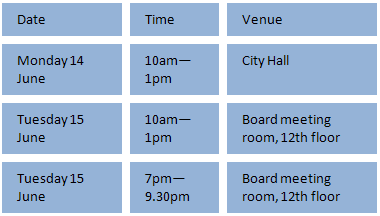
Figure 9: To achieve this look, set the top and bottom cell margins to 0.2cm, and the left and right cell margins to 0.5cm. Then add thick white borders and blue shading.